You’ve fallen for the timeless, free-spirited vibe of bell bottoms, but every pair you find is either too expensive or not quite right. You want that perfect flare, that custom look.
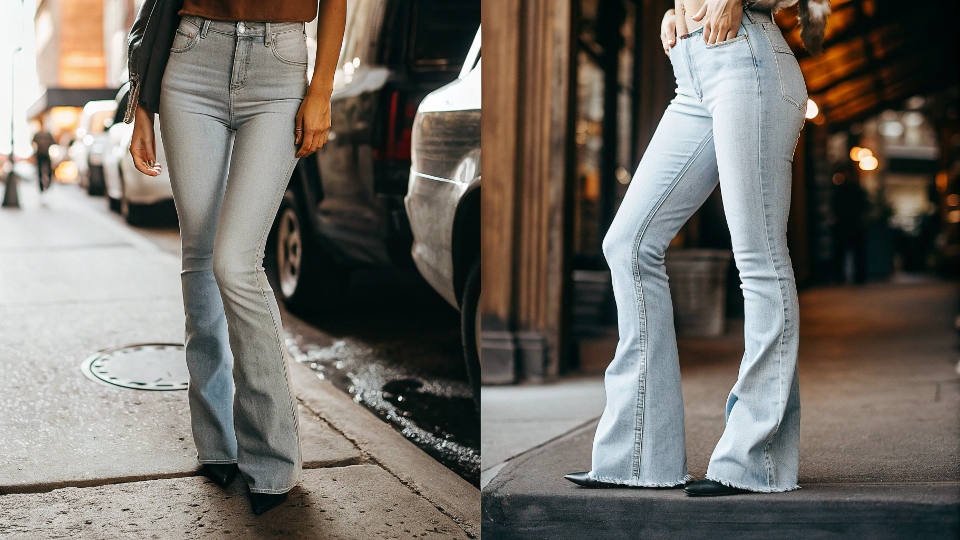
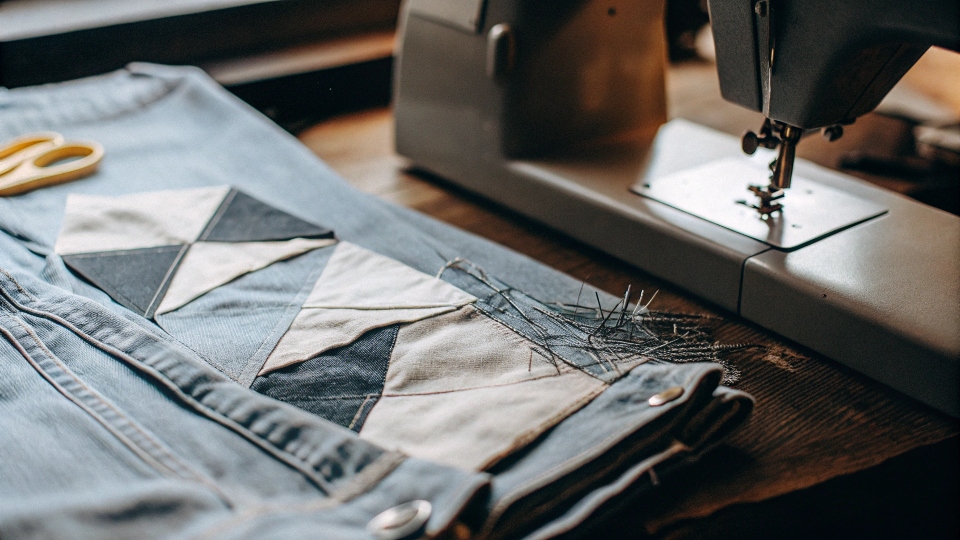
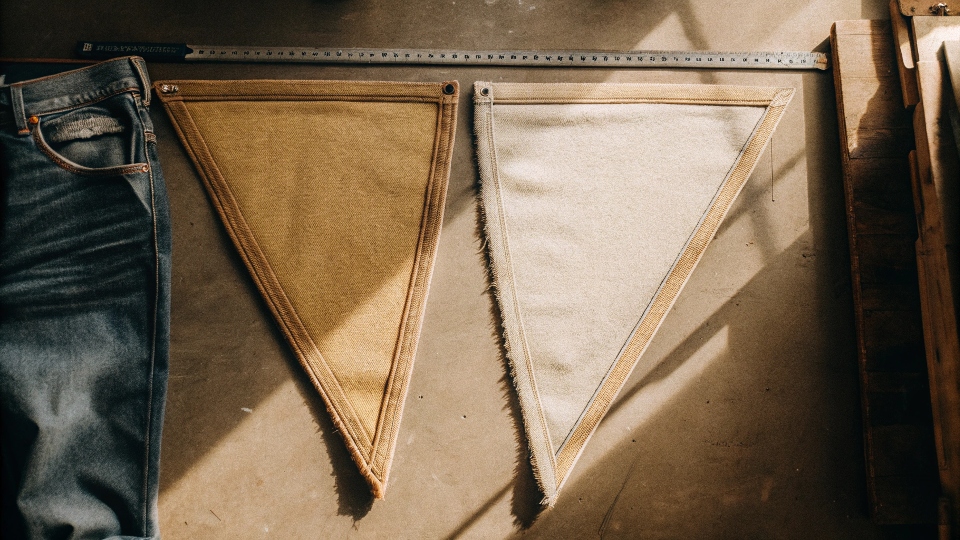
To make bell bottom jeans1, you open the inseam on a pair of straight-leg jeans from the hem to the knee. Then, you insert and sew in a triangular panel of fabric to create the flare.
For over two decades, I've lived in the world of denim manufacturing2. At my factory, DiZNEW, we manipulate denim in every way imaginable.
The idea of transforming a standard pair of jeans into something new is at the heart of what we do. Your insight about this project being a lot of work is spot on; it requires more than just a quick snip. Deconstructing and then reconstructing a jean's seam is a challenge.
But it's also one of the most rewarding ways to create a truly one-of-a-kind garment. I'm going to walk you through how to do it right, so the result looks intentional and cool, not like a clumsy mistake.
Can you make regular jeans into bell bottoms?
You're staring at an old pair of straight-leg jeans3 in your closet. You don't wear them anymore, but you're wondering if they could be reborn as bell bottoms or if you'll just end up with a ruined pair of pants.
Yes, you can absolutely make regular jeans into bell bottoms. The best candidates are straight-leg or bootcut jeans, as their shape provides a natural starting point for adding a flared panel into the inseam.
This is a classic DIY transformation4. The trick is to choose the right pair of jeans and to open the correct seam. While you can technically open either seam, I always recommend opening the inseam (the seam running up the inside of your leg).
The outseam often has more curvature to accommodate your hips and sometimes has decorative topstitching you want to preserve. The inseam is typically straighter and simpler to work with.
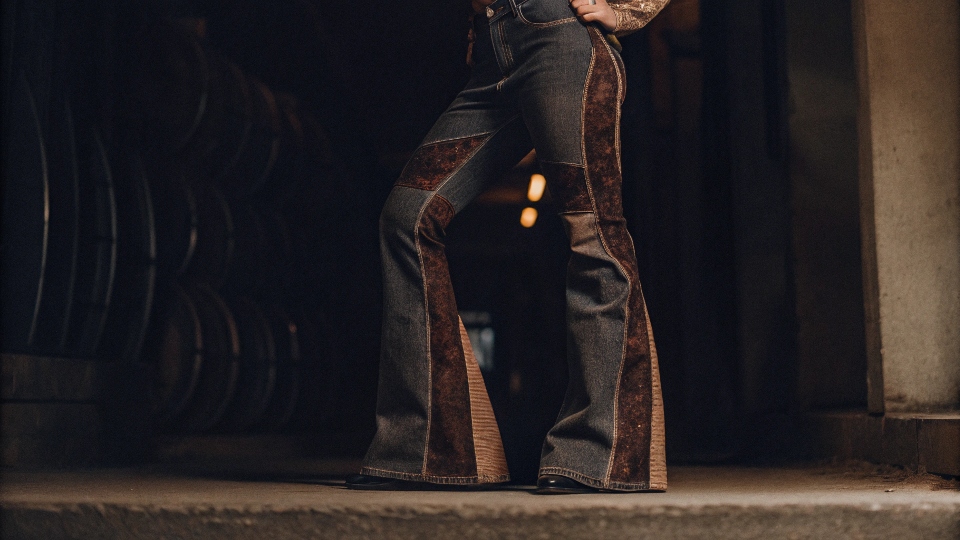
Your intuition about using a contrasting fabric5 is something my designer friend Dean loves to do. It turns a simple alteration into a bold design statement.
Choosing the Right Jeans for Your Project
| Jean Style | Conversion Difficulty | Potential Outcome & Notes |
|---|---|---|
| Bootcut | Easy | This is the ideal starting point. The leg already has a slight flare, so adding a panel looks very natural and integrated. |
| Straight-Leg | Easy to Medium | Also a great choice. You have a clean, straight line to work with, making the insertion straightforward. The final look is classic. |
| Skinny | Difficult | This is challenging. The transition from a very tight knee to a wide flare can look abrupt. It requires a carefully shaped panel to look right. |
How to make bell bottoms for beginners?
You love the idea of this project, but you're new to sewing. You're worried about handling thick denim and ending up with a lopsided, unprofessional-looking result. You need a simple, step-by-step guide.
For a beginner-friendly approach, start by carefully ripping the inseam up to your knee. Pin your fabric panel in place before sewing, and use a heavy-duty "denim" needle in your sewing machine to prevent it from breaking.
This project is totally doable, even for a beginner, if you are patient and methodical. The most important thing is preparation. Don't just start cutting and sewing. Follow these steps.
- Mark Your Split: Put the jeans on and mark a spot on the inseam right at the bottom of your knee. This is how high your flare will go.
- Open the Seam: Take the jeans off. Use a seam ripper to carefully undo the inseam stitching from the hem up to the mark you made. As your insight noted, be careful not to tear the fabric or let the original seam unravel further than you want. I suggest sewing a small horizontal line of stitches (a bar tack) at the top of your split to reinforce it.
- Cut Your Panel: Create a triangle-shaped paper pattern first. The height should match the length of the inseam you just opened. The width of the base determines your flare. Start with about 8 inches for a medium flare. Cut two fabric panels using your pattern, adding a 1/2-inch seam allowance on all sides.
- Pin and Sew: Pin one edge of a fabric panel to one side of the jean's opening, right-sides together. Sew it slowly. Then pin and sew the other side. Using a special denim needle is not optional; it's essential for getting through the thick layers, especially at the hem.
How to turn jeans into bell bottoms without sewing?
You want the bell bottom look desperately, but you don't own a sewing machine and your hand-stitching skills aren't reliable. You're looking for an alternative way to bring your vision to life.
To make bell bottoms without sewing, use a strong, permanent fabric glue6 or an iron-on fusible bonding web. These adhesives are used to attach the flared fabric panel into the split inseam of your jeans.
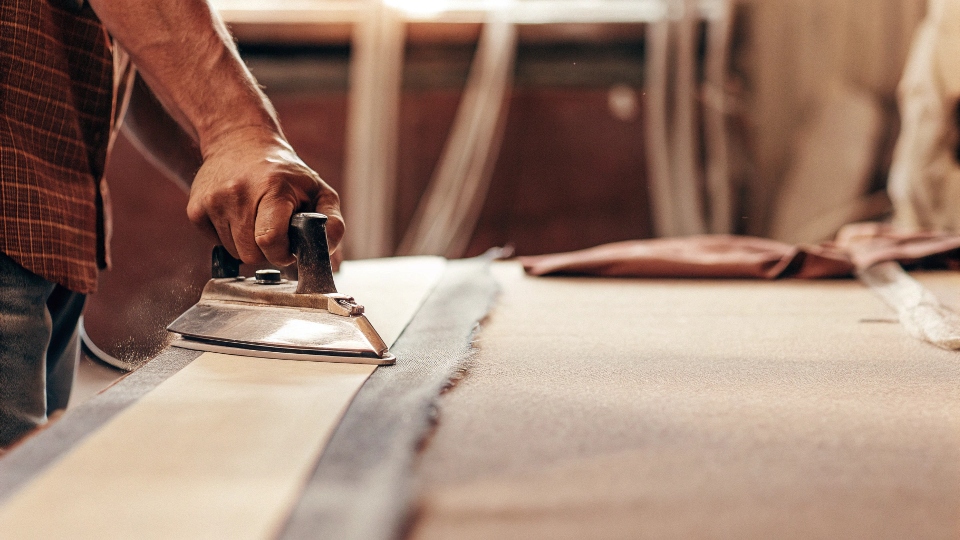
While sewing is always the most durable method, these no-sew alternatives are surprisingly effective for a DIY project. In the factory, we use heat and adhesives for all sorts of things, like applying patches.
You can use that same technology here. You'll prepare your jeans and fabric panels the same way as if you were sewing, but the attachment method is different.
No-Sew Methods: Which is for you?
| Method | How It Works | Durability | Best For |
|---|---|---|---|
| Fusible Webbing | A web-like adhesive strip melts when ironed, bonding the two fabrics together. | Good. Many brands are machine washable, but heavy wear can cause peeling over time. | Getting clean, crisp edges. It’s less messy than glue. |
| Fabric Glue | A permanent liquid adhesive is applied to the seam allowances. | Varies by brand. Look for glues labeled "permanent" and "flexible." | Fabrics that might not handle high iron heat well. |
For both methods, you work with the jeans inside out. You'll overlap the seam allowance7 of your panel with the edge of the jean opening and then either press with an iron (for fusible web) or apply glue and clamp it with clips while it dries. It’s a great way to get the look without a single stitch.
How much fabric is required for bell bottom pants?
You're all set to begin, but you're standing in the fabric store feeling lost. You don't know how much fabric to buy for your panels and are afraid of miscalculating and wasting your time and money.
You typically need less than a half-yard (or half-meter) of fabric. The exact amount depends on your desired flare, but this is usually plenty to cut the two triangular panels required for the project.
Measuring is simple once you know what to do. The amount of fabric depends on two key measurements: the height of your flare and the width of your flare. Let's break it down so you can walk into the store with confidence.
- Measure Flare Height: This is the length of the inseam you decided to split open, from the hem to your knee. Let's say it's 15 inches. Add 1 inch for seam allowance, so your panel height is 16 inches.
- Measure Flare Width: This is how much extra width you want at the leg opening. A subtle flare might be 6 inches; a dramatic one could be 12 inches. Let's say you want an 8-inch flare. Add 1 inch for seam allowances, so the base of your triangle is 9 inches wide.
So, you need to be able to cut two triangles that are 16 inches tall and 9 inches wide. A half-yard of standard-width fabric (usually 44 inches wide) gives you a piece that is 18 inches by 44 inches.
This provides more than enough room to cut your two panels, even leaving some extra space in case of a mistake. This confirms your insight about adding a contrasting denim panel; a half-yard piece of denim is easy to find and perfect for the job.
Conclusion
Transforming regular jeans into custom bell bottoms is a rewarding project. With careful measurement and either a sewing machine or strong adhesive, you can easily create your own unique, flared statement piece from an old pair of pants.
-
Explore this link to find detailed guides and tips for creating stylish bell bottom jeans. ↩
-
Discover the intricate process of denim manufacturing and how it affects the final product. ↩
-
Explore creative ways to repurpose old straight-leg jeans into stylish new pieces. ↩
-
Check out creative DIY transformations that can revamp your wardrobe. ↩
-
Explore options for contrasting fabrics that can enhance your sewing designs. ↩
-
Discover top-rated fabric glues that can help you with your DIY sewing projects. ↩
-
Explore the concept of seam allowance and its significance in sewing projects. ↩

