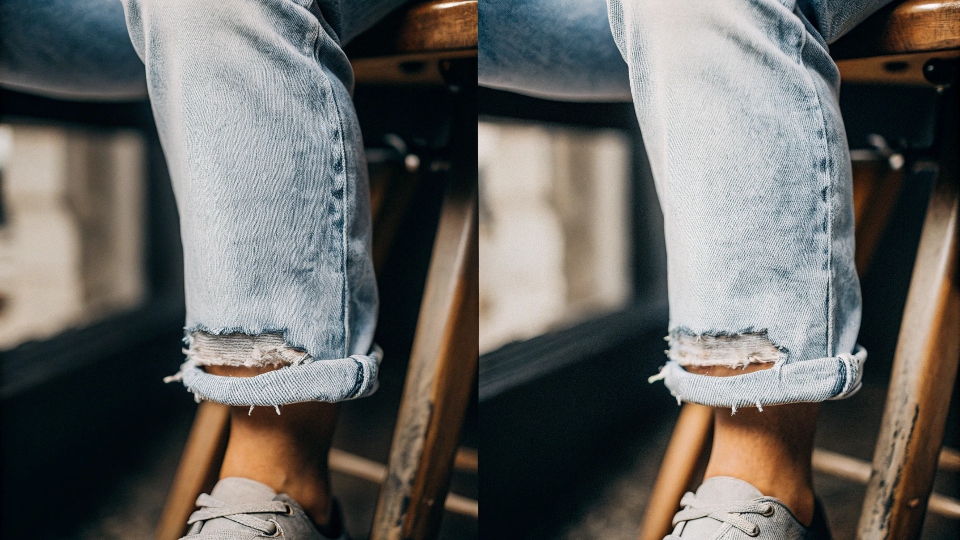
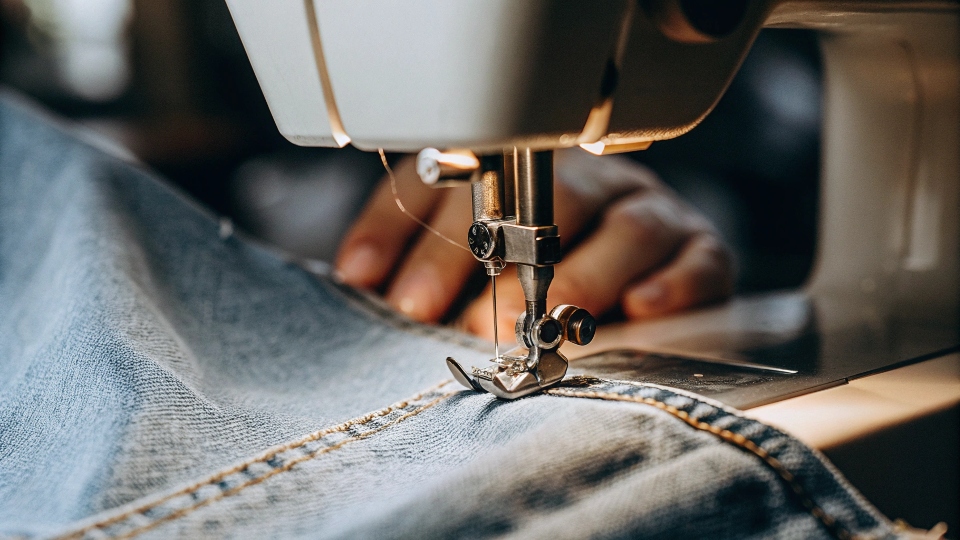
Your newly shortened jeans fit perfectly, but the hem looks flat and fake. This obvious, brand-new edge ruins the entire worn-in aesthetic of your favorite denim.
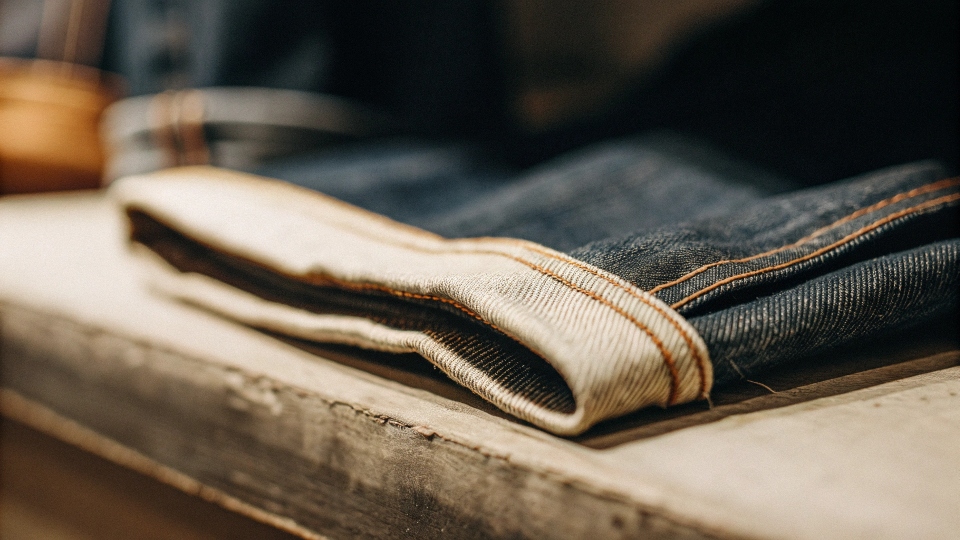
The best method is to have a tailor reuse the original factory hem1. This involves cutting off the original hem, shortening the jean leg, and then expertly sewing the original hem back on, preserving all the unique fading and distressing.
At my factory, DiZNEW, the hem is the final, crucial step in finishing a pair of jeans. For high-end clients like designer Dean, we use special vintage chain-stitching machines2, like the Union Special 43200G, to create a specific twisted fade on the hem called "roping3."
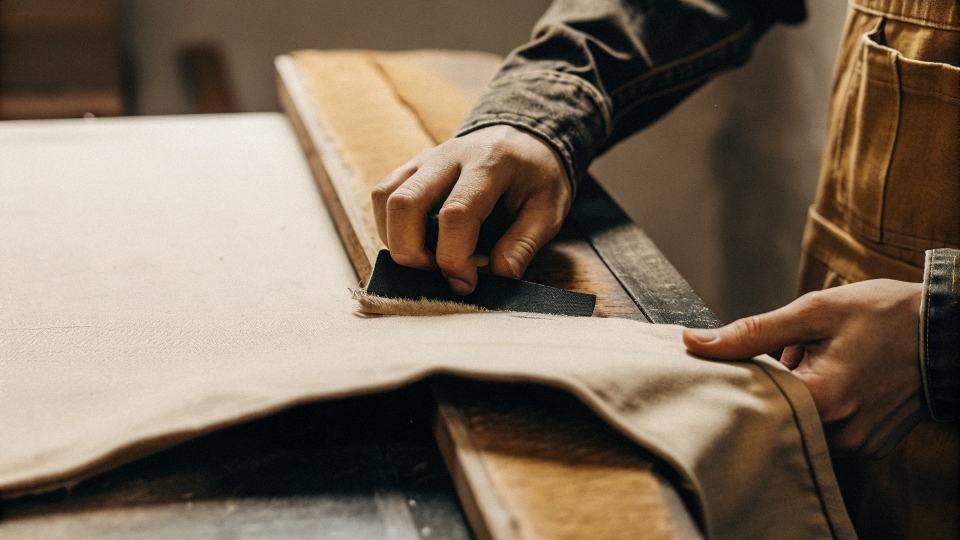
We then apply hand-sanding or grinding4 to mimic years of wear. All this detail creates character. Simply cutting it off and folding it over is a huge waste of craftsmanship, which is why preserving that original piece of fabric is so important for maintaining the jean's value and style.
How do you get the worn look on the hem of jeans?
A fresh, new hem looks too perfect and clean. This stark, dark edge clashes with the rest of your beautifully faded, worn-in denim, screaming "I was just altered!"
To manually create a worn look, gently abrade the hem's edge with fine-grit sandpaper (around 220-grit) or a pumice stone. This will carefully remove the top layer of dye, mimicking the natural fading process and making the hem look authentic.
This is a great DIY trick to replicate what we do with much bigger machines. The goal is to simulate the high-point abrasion that happens naturally over time.
When you rub the sandpaper along the folded edge of the hem, you're only hitting the most raised parts of the denim twill5. This selectively removes the indigo or black dye, revealing the white cotton core of the yarn underneath.
It’s this contrast that creates the faded, vintage look. The key is to be gentle and build the effect slowly. You can always sand more, but you can't put the color back on. Focus on the very bottom edge and any high points like the side seams.
After a few minutes of careful sanding, the new hem will start to blend in seamlessly with the rest of the jean. It's a simple, effective way to add character and authenticity back to your altered denim.
How do tailors keep the original hem?
You're taking your expensive jeans to a tailor, afraid they'll just chop off the bottom and create a generic, boring hem. Losing that unique factory finish feels like a huge waste.
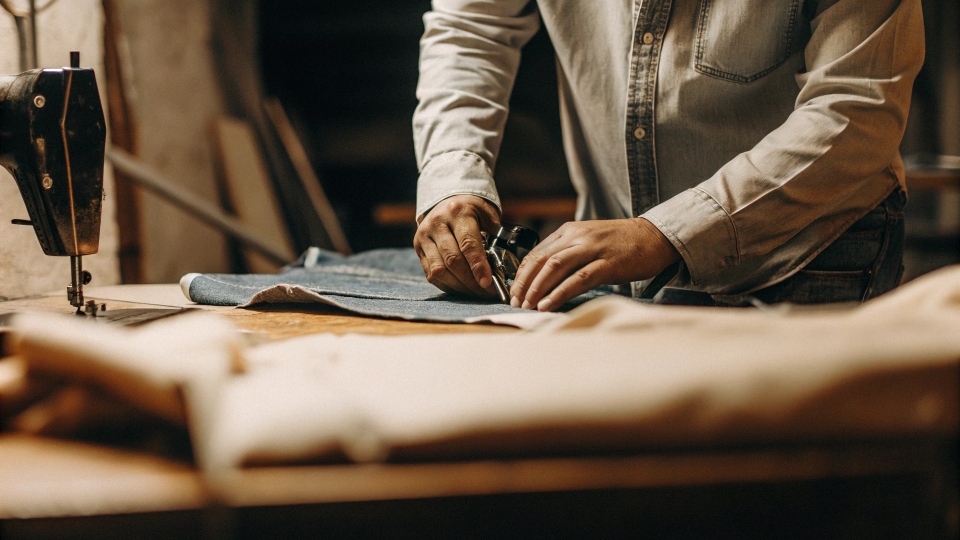
A good tailor keeps the original hem by performing a specific alteration. They cut off the original hem, then cut the jean leg to the new length, and finally sew the original hem back onto the shortened leg, hiding the new seam perfectly.
This technique is the industry standard for high-quality denim alterations, and I highly recommend it. A skilled tailor executes this with surgical precision.
They don't just cut the hem off; they cut it off with about half an inch of fabric still attached above it. Then, they shorten the jean leg. The trick is how they reattach it: the raw edge of the newly shortened leg is tucked inside the fold of the original hem piece.
The tailor then sews a new seam right along the original bottom edge of the hem, a technique often called "stitching in the ditch6." This new seam is almost invisible because it's hidden in the existing structure.
When done correctly, with thread color that matches perfectly, the alteration is nearly undetectable. The result is a pair of jeans at your perfect length, with the original, beautifully worn-in hem completely intact.
Original Hem vs. Standard Hem
| Feature | Original Hem Method | Standard Hem Method |
|---|---|---|
| Appearance | Seamless, preserves factory fading. | A flat, dark, new-looking hem. |
| Authenticity | 100% original look and feel. | Clearly looks altered and generic. |
| Durability | Very strong, uses original stitching. | Standard durability, but looks new. |
| Cost | More expensive due to complexity. | Cheaper and faster to perform. |
How to make a raw hem look better?
You cut your jeans for a trendy raw-hem look, but now it's fraying uncontrollably. With every wash, it's unraveling further, looking more like a messy mistake than an intentional style choice.
To improve and control a raw hem, simply sew a single, straight line of stitching about a half-inch to an inch above the cut edge. This "stopper stitch7" acts as a barrier, preventing the fabric from fraying any further.
This is a simple but essential step for creating a professional-looking raw hem. Without this stopper stitch, the denim's weave will just continue to come undone, and your shorts or jeans will literally get shorter over time.
By sewing that single line, you secure the vertical (warp) and horizontal (weft) threads in place. For the best result, use a thread color that matches the other stitching on your jeans, which is typically a gold or copper color.
Once the stitch is in place, you can "groom" the fray.Throw the jeans in the wash to encourage a bit of fluff, then trim any excessively long or scraggly threads with a pair of scissors.
This combination of a controlled fray and a clean stopper stitch gives you the relaxed, deconstructed vibe without any of the mess. It looks intentional, polished, and will last for years.
How to shorten pants back to original?
You want to shorten your jeans at home and keep that original hem. However, you're worried the result will be a bulky, amateur-looking seam that ruins the pants completely.
You can shorten jeans8 and reattach the original hem yourself. The process involves cutting the hem off, cutting the leg to the new length, then pinning and sewing the original hem back on by sewing right along its bottom edge.
This professional technique is surprisingly manageable with a home sewing machine. The key is in the setup. First, determine how much length you need to remove.
Let’s say it's 2 inches. You will cut the jean leg 2 inches above the original hem stitching. Then, cut the original hem off the discarded piece. Now, take the original hem and tuck the raw edge of the shortened jean leg inside it, making sure to align the side seams perfectly.
Pin it securely all the way around. Now, on your sewing machine, stitch as close as you can to the original hem, right in the "ditch" of the fold. This hides your new stitch. Use a heavy-duty needle and go slowly.
Once you're done, you can trim the excess fabric on the inside and press the hem down with an iron for a crisp, flat finish.
Conclusion
Reattaching the original hem is the superior method for shortening jeans. This tailoring trick preserves the factory finish, ensuring your hem always looks authentic and never out of place.
-
Explore this resource to understand the craftsmanship behind preserving the original hem, enhancing your denim's authenticity. ↩
-
Learn about the unique techniques used in high-end denim production, which can elevate your understanding of quality jeans. ↩
-
Discover the art of roping and how it contributes to the character of your jeans, making them truly unique. ↩
-
Find out how these techniques create a vintage look, adding depth and character to your favorite jeans. ↩
-
Discover the characteristics of denim twill and how it contributes to the overall look and feel of your jeans. ↩
-
This technique is crucial for invisible alterations; learn how it can enhance your denim's appearance. ↩
-
Understand the importance of a stopper stitch in maintaining the integrity of your raw hem jeans. ↩
-
Learn the step-by-step process to shorten jeans without losing their original charm. ↩

