You have a vision for the perfect jeans, but nothing in stores matches it. Making your own sounds like the ultimate solution, but the process seems complex and out of reach.
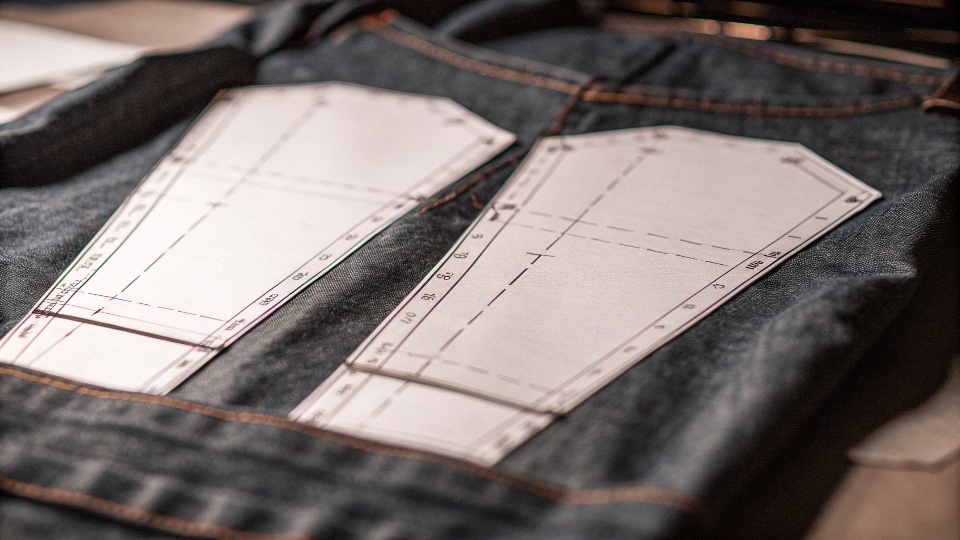
To make jeans, you create a paper pattern, cut the denim pieces, sew components like pockets and the fly, assemble the legs and waistband, and finally attach the hardware.
I have spent my life turning denim fabric into finished jeans. The process is a craft that combines precision with artistry. I will break down the essential steps we use in my factory, so you can understand how a simple roll of fabric becomes a structured pair of jeans. It is a journey from a flat pattern to a wearable garment.
Why does it take 7500 litres of water to make a pair of jeans?
You hear that making jeans uses a lot of water. The number sounds huge and makes you question the environmental cost. You want to understand where it all goes.
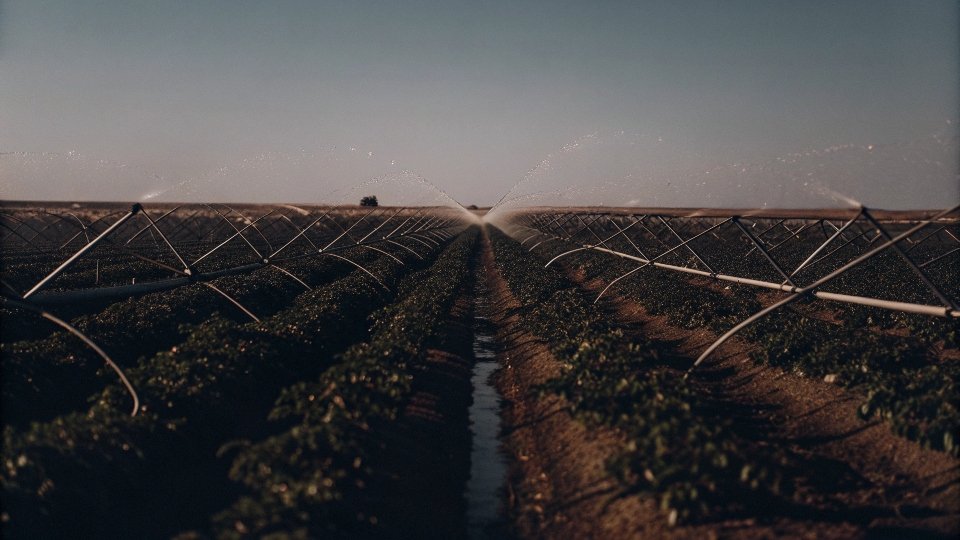
Most of the water, about 70%, is used to grow the cotton. The rest is used during the dyeing, washing, and finishing stages of manufacturing the jeans.
In my factory, managing water is a huge part of our daily work. That massive 7,500-liter figure is an industry average that covers the entire lifecycle, from farm to finished product. I will break down the main stages where water is consumed.
The Lifecycle of Water in Jeans Production
-
Cotton Cultivation: Cotton is a thirsty plant. It grows in warm, often dry climates. Farmers use irrigation to water the crops, and this accounts for the largest portion of the water footprint. This happens long before the fabric ever reaches a factory like mine.
-
Dyeing and Finishing: The classic blue color of jeans comes from indigo dye. The dyeing process involves dipping yarn in water and dye multiple times. After the jeans are sewn, they go through various washing cycles to soften the fabric, set the color, and create specific looks like fading or distressing.
-
Modern Savings: At DiZNEW, we have invested in new technology. We use ozone washing and laser finishing. These methods create worn-in looks with a fraction of the water used in traditional stone washing.
| Stage | Description | Water Usage |
|---|---|---|
| Cotton Farming | Irrigating the cotton plants in the field. | High |
| Dyeing | Coloring the cotton yarns with indigo. | Medium |
| Finishing | Washing the finished jeans for softness and style. | Medium-High |
How to DIY jeans at home?
You want to make jeans that fit you perfectly. The idea of doing it yourself is exciting, but you need a clear process to follow from start to finish.
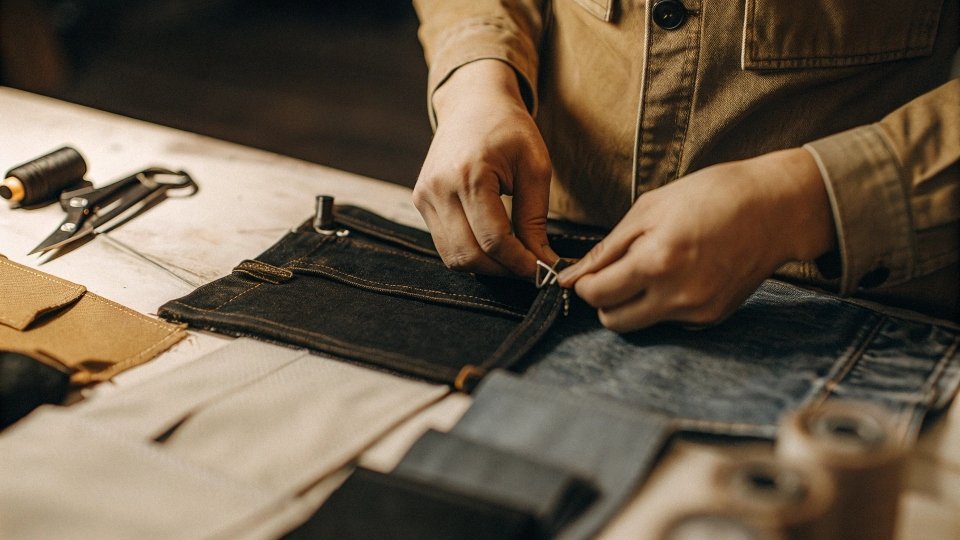
Start with a pattern. Cut your denim pieces. Assemble smaller parts first, like pockets and the zipper fly. Then, sew the main seams, attach the waistband, and add hardware.
The insight I will share comes directly from our factory floor, simplified for a home project. We follow a very specific order of operations to build a pair of jeans efficiently. Every step builds upon the last one.
The Basic Workflow for Making Jeans
- Create a Pattern: This is your blueprint. You can draft your own pattern or buy one. It includes pieces for the front, back, pockets, yoke, fly, and waistband.
- Cut the Denim: Lay your pattern pieces on the denim fabric. Pay attention to the grainline. Cut out all the pieces carefully. Accuracy here is critical for a good fit.
- Construct Components: Sew the back pockets and attach them to the back leg pieces. Assemble the front pockets. Prepare the zipper fly shield and facing.
- Assemble the Jeans: Sew the front pieces together at the crotch. Sew the back pieces together at the back seam. Attach the yoke. Then, sew the inseam and the side seams to join the front and back.
- Finish the Top: Attach the waistband and the belt loops, which we call 'ear loops' in the factory.
- Add Hardware: The final step is to attach the button and rivets. This requires special tools to set them securely.
| Step | Action | Pro Tip |
|---|---|---|
| 1. Pattern | Draft or trace all pattern pieces. | Double-check measurements before cutting. |
| 2. Cut | Cut fabric according to the pattern. | Use a rotary cutter for clean, straight lines. |
| 3. Sew Parts | Sew pockets, fly, and yoke. | Do these small, flat pieces first. |
| 4. Assemble | Stitch main seams to form the pants. | Use a strong stitch like a flat-felled seam. |
| 5. Finish | Attach waistband and belt loops. | Press the waistband before attaching it. |
| 6. Hardware | Install the button and rivets. | Practice on a scrap piece of denim first. |
Can you make jeans in a regular sewing machine?
You have a standard home sewing machine. You worry that it is not strong enough to handle thick denim fabric and multiple layers.
Yes, you can make jeans on a regular machine, but you need the right setup. Use a heavy-duty "jeans" needle, strong polyester thread, and sew slowly over thick seams.
While my factory uses industrial machines built for speed and power, I know many designers and hobbyists who create amazing jeans at home. The key is not the machine's price, but the accessories and techniques you use. Your home machine can do the job if you help it along.
Essential Tools and Tips
- Needle: This is the most important part. Use a denim or jeans needle in size 100/16 or 110/18. These needles have a reinforced shaft and a sharp point designed to penetrate dense fabric without breaking.
- Thread: Do not use regular all-purpose thread. It will snap. Use a heavy-duty or topstitching thread. For the bobbin, you can use a regular all-purpose thread if the topstitching thread is too thick for your machine.
- Technique: Sew slowly. When you approach a very thick seam, like where the waistband meets a belt loop, turn the handwheel manually to walk the needle through the layers. This prevents the needle from breaking and the motor from stalling. A walking foot attachment can also help feed the thick layers evenly.
| Component | Home Machine Setup | Industrial Machine Advantage |
|---|---|---|
| Motor | Standard power | High-power, clutch motor for torque |
| Needle | Requires special "jeans" needle | Uses robust industrial needles |
| Thread | Needs heavy-duty thread | Handles very thick thread with ease |
| Speed | Slow and steady | Very high speed for production |
What's the easiest way to fray jeans?
You want to give your new jeans a distressed, frayed hem. You have tried just cutting them, but it looks too clean and unnatural.
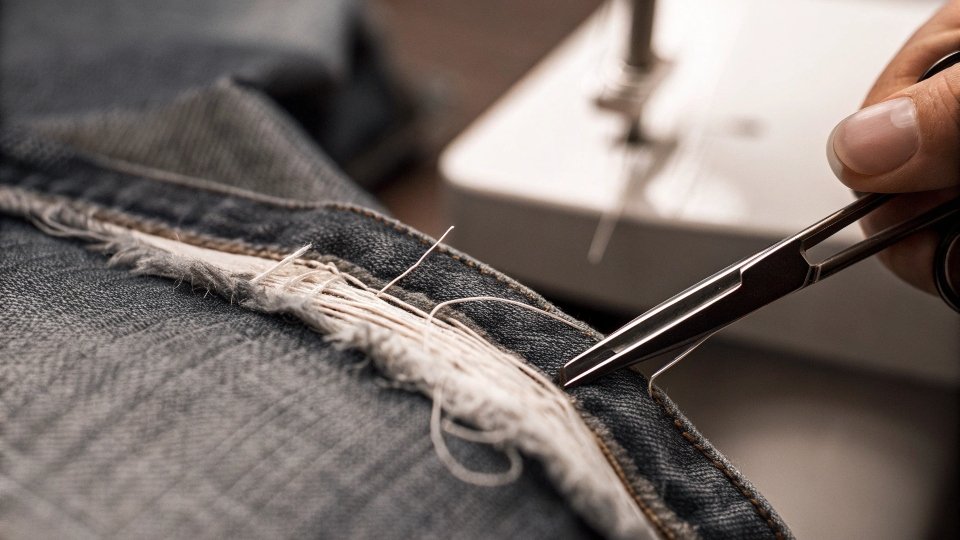
The easiest way is to cut the hem off, then use a simple tool like a seam ripper, sandpaper, or tweezers to pull out and rough up the white, horizontal threads.
In our washhouse, we use industrial sanders and stones to create distressed looks, but you can get a very similar effect with basic tools at home. The goal is to expose and loosen the white weft threads that run horizontally in the denim weave.
Simple Fraying Techniques
- Mark and Cut: First, decide on the length. Put the jeans on and mark where you want the hem to fall. Take them off and cut them straight across with sharp scissors.
- Expose the Threads: Use coarse sandpaper to rub along the cut edge. This will start to break down the blue warp threads and expose the white weft threads underneath.
- Pull the Threads: For a more intense fray, use a seam ripper or a pair of tweezers to gently pick and pull at the white threads along the cut edge. Pull them out to create a soft, fluffy fringe.
- Wash and Dry: Throw the jeans in the washing machine and dryer. The agitation will help the fraying process along, making the hem look more natural and soft. This is the final and most important step to get an authentic look.
| Tool | Resulting Fray | Effort |
|---|---|---|
| Sandpaper | Soft, subtle, and worn-in | Low |
| Seam Ripper | Defined, stringy fringe | Medium |
| Wire Brush | Heavily distressed and fluffy | Medium |
| Washer/Dryer | Naturalizes and softens any fray | Low |
Conclusion
Making your own jeans is a rewarding process that gives you complete control over fit and style. It starts with a good pattern and ends with hardware, with careful sewing in between.


 needle going through thick denim fabric](https://diznewjeans.com/wp-content/uploads/2025/09/yes-you-can-make-jeans-on-a-regular-mac.jpg)


